Modules
We can also define our own modules to associate some code with a name. Here's what it looks like.
module hingeBaseProfile() {  translate([pivotRadius,0,0]){    square([baseWidth,baseThickness]);  }}
linear_extrude(hingeLength/2){ offset(1)offset(-2)offset(1){ translate([0,pivotRadius,0]){ circle(pivotRadius); } square([pivotRadius,pivotRadius]); hingeBaseProfile(); // <- used here }}linear_extrude(hingeLength){ offset(1)offset(-1)hingeBaseProfile(); // <- and here}Module Syntax#
At the top is the module definition, the syntax here is module yourName() { /* your code */ } and then when we want to use it we put parenthesis () at the end i.e. yourName();.
The parenthesis are there because we can also pass arguments to modules which we'll cover soon!
Now that we know how to use modules, let's wrap everything we've done so far into one, as it's a good way to name and therefore express intent of the code we've written.
// ... variables abovemodule hingeBaseProfile() {  translate([pivotRadius,0,0]){    square([baseWidth,baseThickness]);  }}
module hingeBodyHalf() {  linear_extrude(hingeLength/2){    offset(1)offset(-2)offset(1){      translate([0,pivotRadius,0]){        circle(pivotRadius);      }      square([pivotRadius,pivotRadius]);      hingeBaseProfile();    }  }  linear_extrude(hingeLength){    offset(1)offset(-1)hingeBaseProfile();  }}
hingeBodyHalf();3D Primitives#
Next lets work on the pin, ie. what the other half of the hinge will pivot about.
We're going to introduce a new module cylinder and to get in good habits lets put this immediately in a module that describes what we're making.
// ... other variables abovepinRadius=2;pinTaper=0.25;
// ... other module definitions abovemodule pin() {  translate([0,pivotRadius,hingeLength/2]){    cylinder(h=hingeLength/2, r1=pinRadius, r2=pinRadius+pinTaper);  }}
hingeBodyHalf();pin();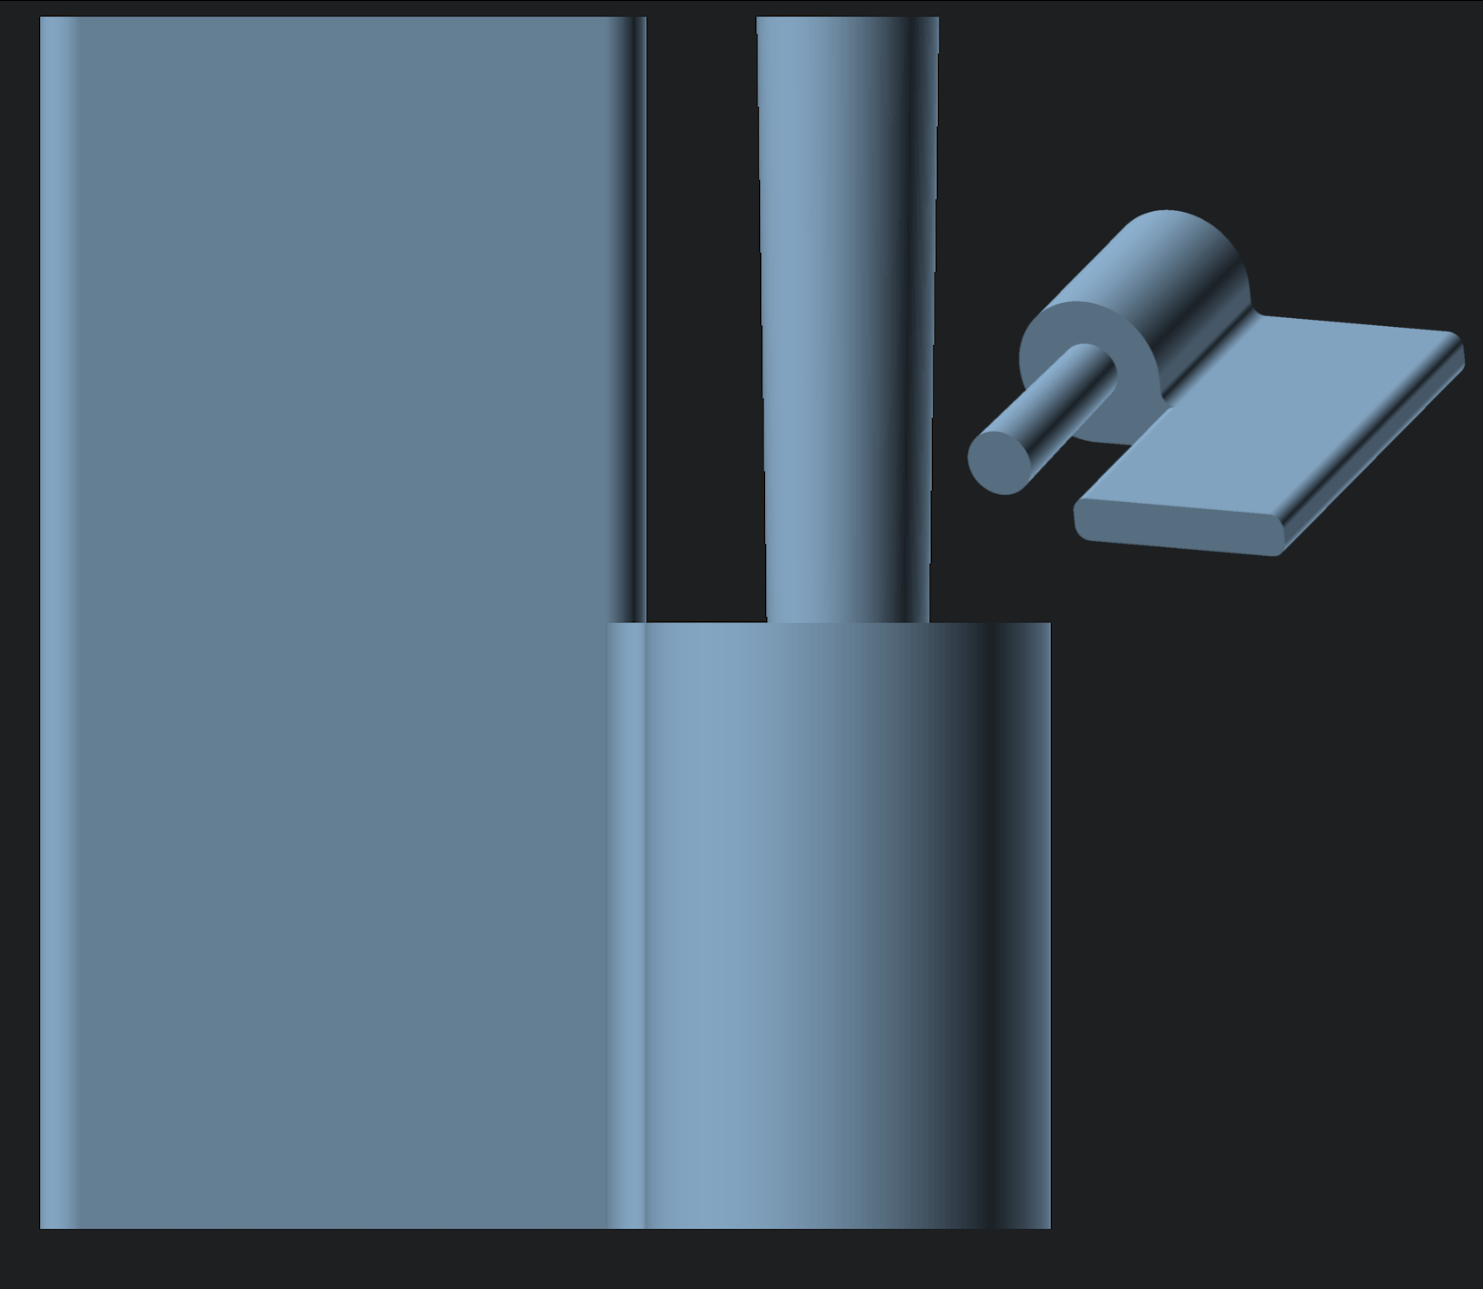
A couple notes about the above.
cylinderis the 3d version ofcirclewhenhfor height is the length that we would need to extrudecircleby. It can also take one or two radii, here we're using two because it allows us to add a taper to the pin. The reason why we want to add a taper is because we're starting to think about the assemble of this hinge and if we taper the pin it means the other half of the hinge will be locked on.- In order to add the taper we've defined two variables
pinRadiusandpinTaper. The latter is extra we add to the secondcylinderradius. - The
translateis there move thecylinderup so that it's centred with the hinge pivot and move along so that it's protruding out of the hinge pivot.