The Basics
2D Primitives#
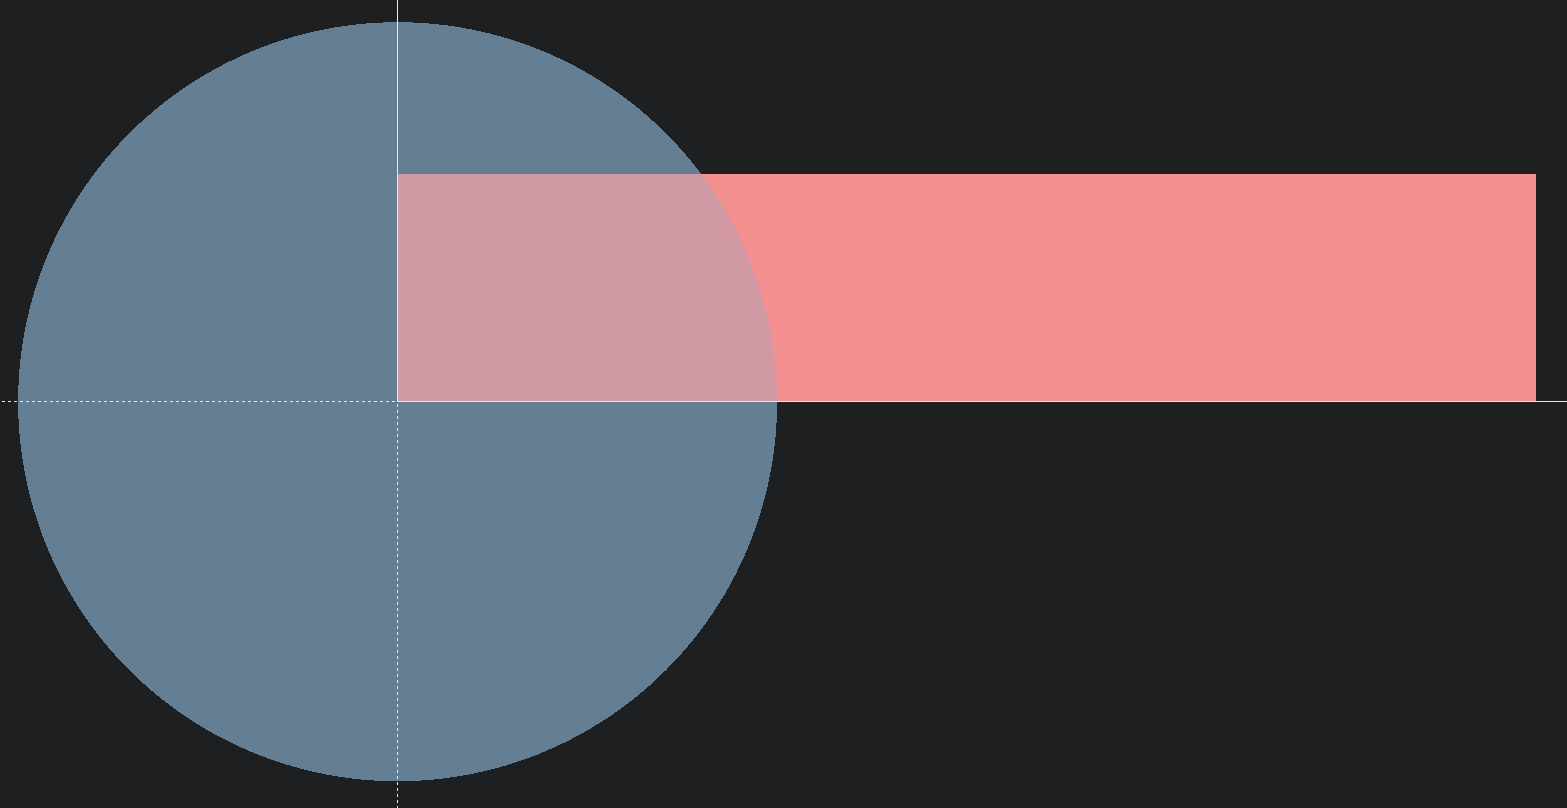
Designing parts in OpenSCAD is a matter of combining shapes and iterating until you get what you want, so with that in mind lets start from this perspective focusing on one half of the hinge, let's look at the blue half.

We can see at the very least some circles and rectangles will be of use, so lets start there.
circle(5);square([15,3]);circle(5); gives us a circle with a radius of 5 and square is the 2d version of cube.
Here we've given it dimensions of 15 and 3 for x and y respectively (or width and height if you prefer).
Translate#
It's a start but we need to shift things around a little (I've colored these so we can tell them apart). The cross-hairs represent the origin of the environment and we can see that lines up with the circle's center and the corner of the square. Since 5 is the radius of the circle, if we want the circle to sit on top of the origin we need to shift it up by the same amount. We do that with translate like so:
translate([0,5,0]){ circle(5);}square([15,3]);translate is a little different to the modules we've seen so far in that instead of ending with a semicolon ; it ends with { children }. In the case above it has one child, the circle. translate shifts its children around, we're using it to shift it up by 5. We put 5 in the second position in the square braces because we want to shift it along the Y axis. If you're ever not sure which axis you need to shift something, just try each until you find the one you're after.
We also don't want to have the undercut where the circle meets the square, we can fix that with another square so that there's a nice 90 degree transition. Also for reasons we'll get to later, we don't actually want any overlap between these two squares so it will need a shift with translate as well. Here's what we're left with:
translate([0,5,0]){ circle(5);}square([5,5]);translate([5,0,0]){ square([11,2]);}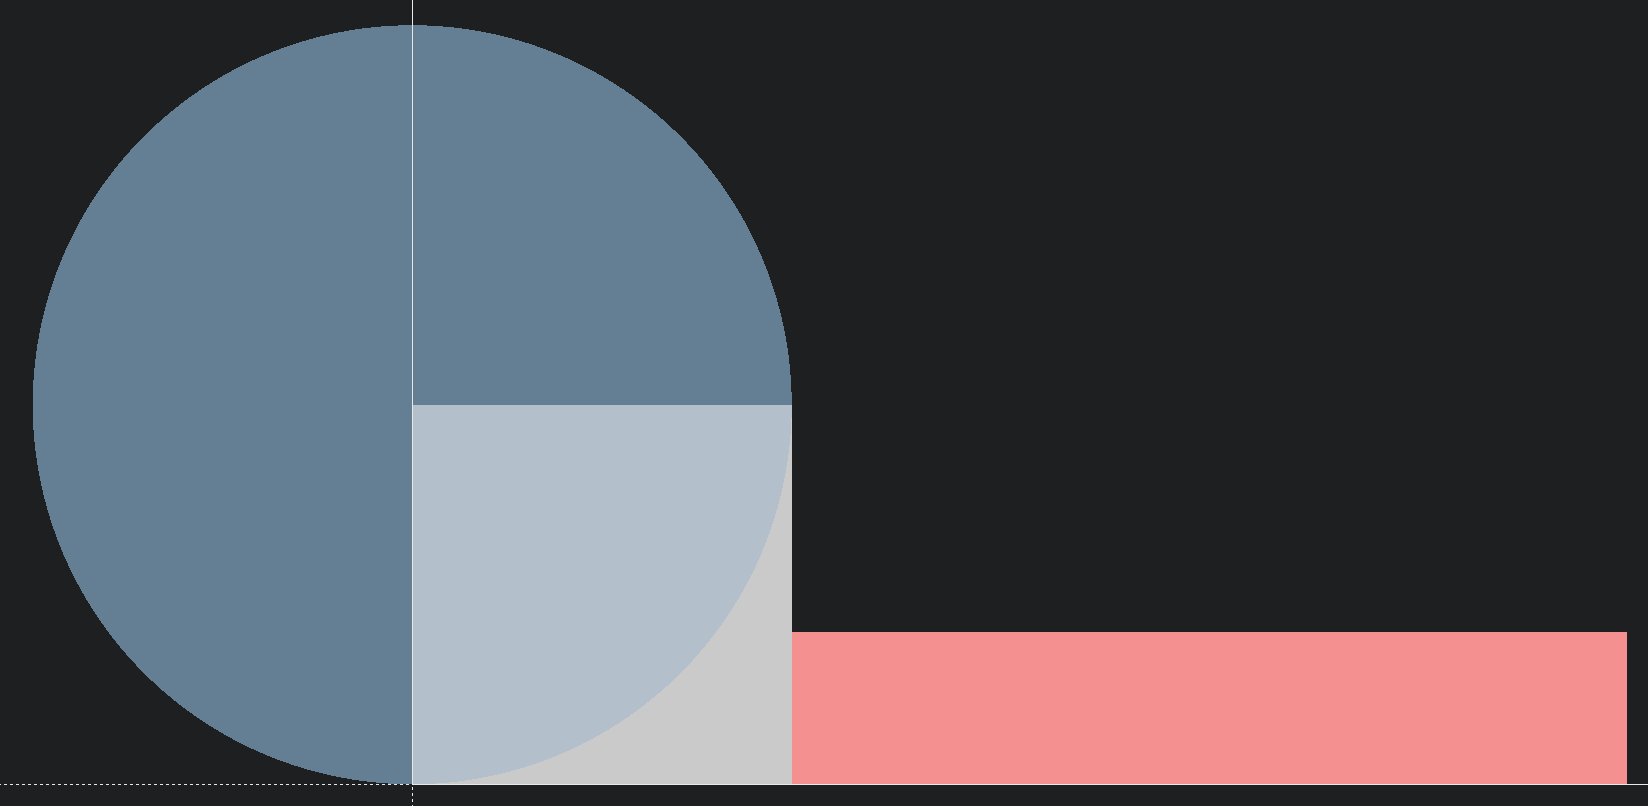
I'm sure you can see the profile of the hinge coming together, that's great, but before we move forward we should quickly reflect on what we've done so far.
Variables#
We've written 7 lines and there are 5 module calls and . . . . a bunch of numbers, we have to ask ourselves If we came back to this code in a month would we be able to tell what it's supposed to do? We definitely could, but all of the numbers makes it difficult because it's not easy to tell why each value is that value.
Have you ever walked into a room only to forget why? You know you came here for a reason but it completely eludes you!? Well reading old code, even only a couple weeks later is a bit like that, you know you put these numbers here for a reason . . .right!
In programming expressing intent in one of the most important principles for making code understandable and to remember what we were doing. Isolated values like the ones in our code so far are commonly called "magic numbers" since we can't tell what they do, they might as well be magical. Luckily this can be solved by variables. Variables are a way of giving a number a name, so that we can reference that same number over and over again. This what it looks like in action.
pivotRadius=5;translate([0,pivotRadius,0]){ circle(pivotRadius);}square([pivotRadius,pivotRadius]);translate([pivotRadius,0,0]){ square([11,2]);}The first line pivotRadius=5; is where the variable is assigned, that is the value of 5 is assigned to the name pivotRadius, Then we can use it everywhere we need that value.
The beauty of this is two fold,
1) We have now given lots of context about what value of 5 actually means, that it relates to the pivot radius and
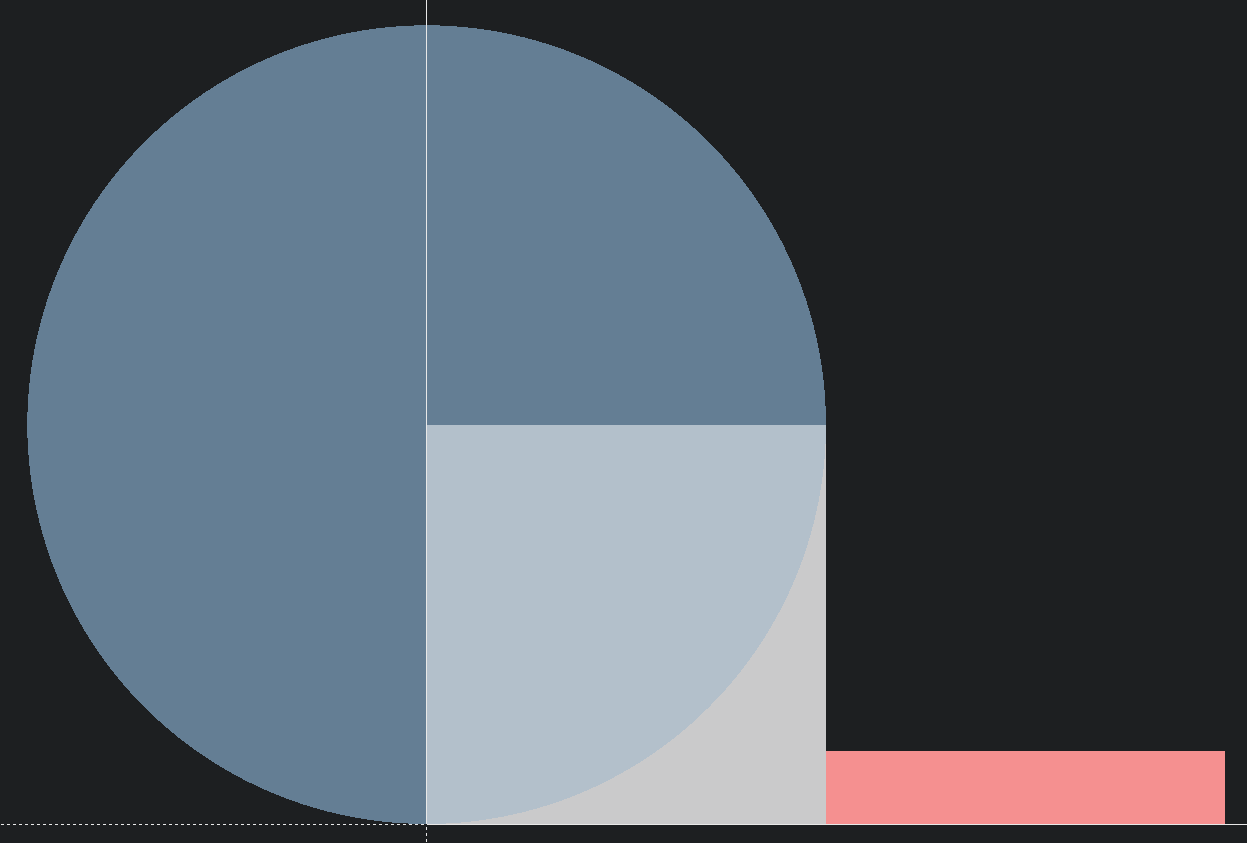
2) if we ever what to change this value it's easy to just change the first line and the rest will update, for example we can more than double the value and the model stays cohesive, here it is with pivotRadius=11;
Let's clean up the rest of the magic numbers.
pivotRadius=5;baseThickness=3;baseWidth=15;translate([0,pivotRadius,0]){ circle(pivotRadius);}square([pivotRadius,pivotRadius]);translate([pivotRadius,0,0]){ square([baseWidth,baseThickness]);}There are some exceptions to the "magic number" rule, for example above 0 isn't a "magic number" since this conveys "no value for this axis" quite well.