Getting Started
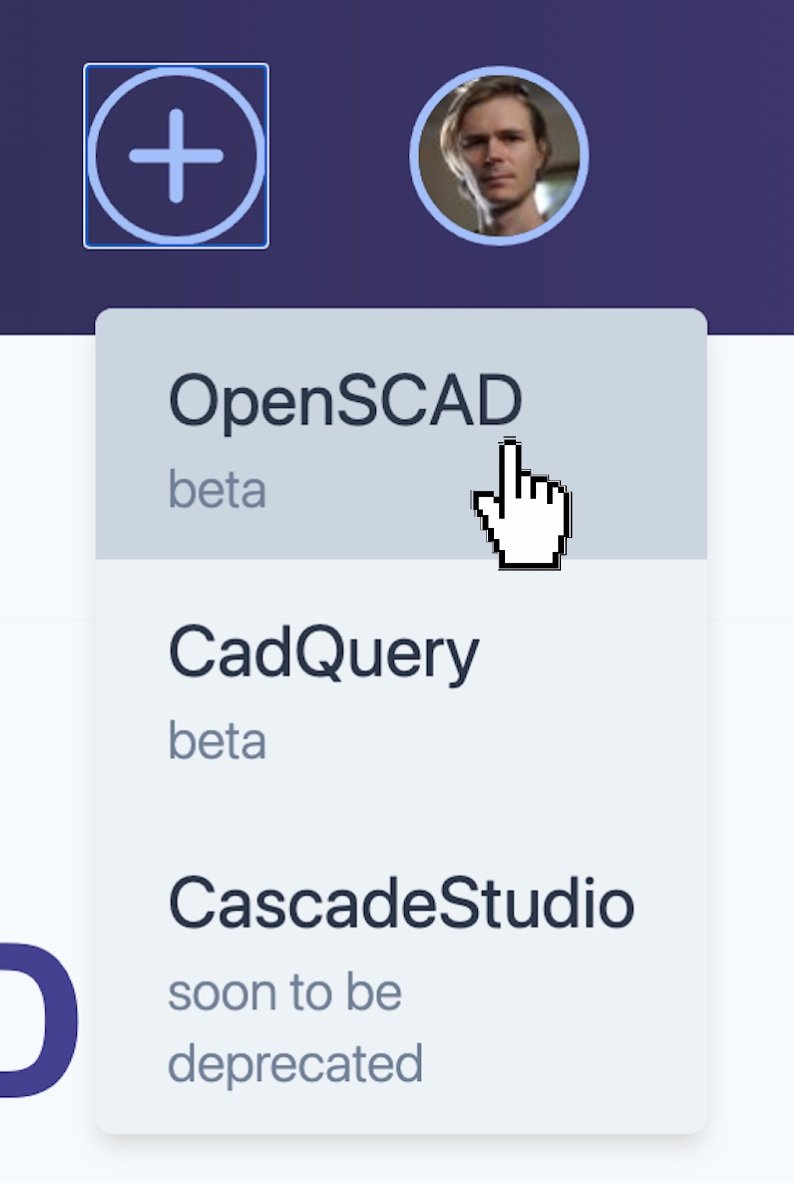
To get started click the "+" button on the top right of CadHub

Then select OpenSCAD. Note that CadQuery is available too, but OpenSCAD is recomended and the rest of this tutorial is based on OpenSCAD.
You should now see the OpenSCAD IDE (integrated development environment)
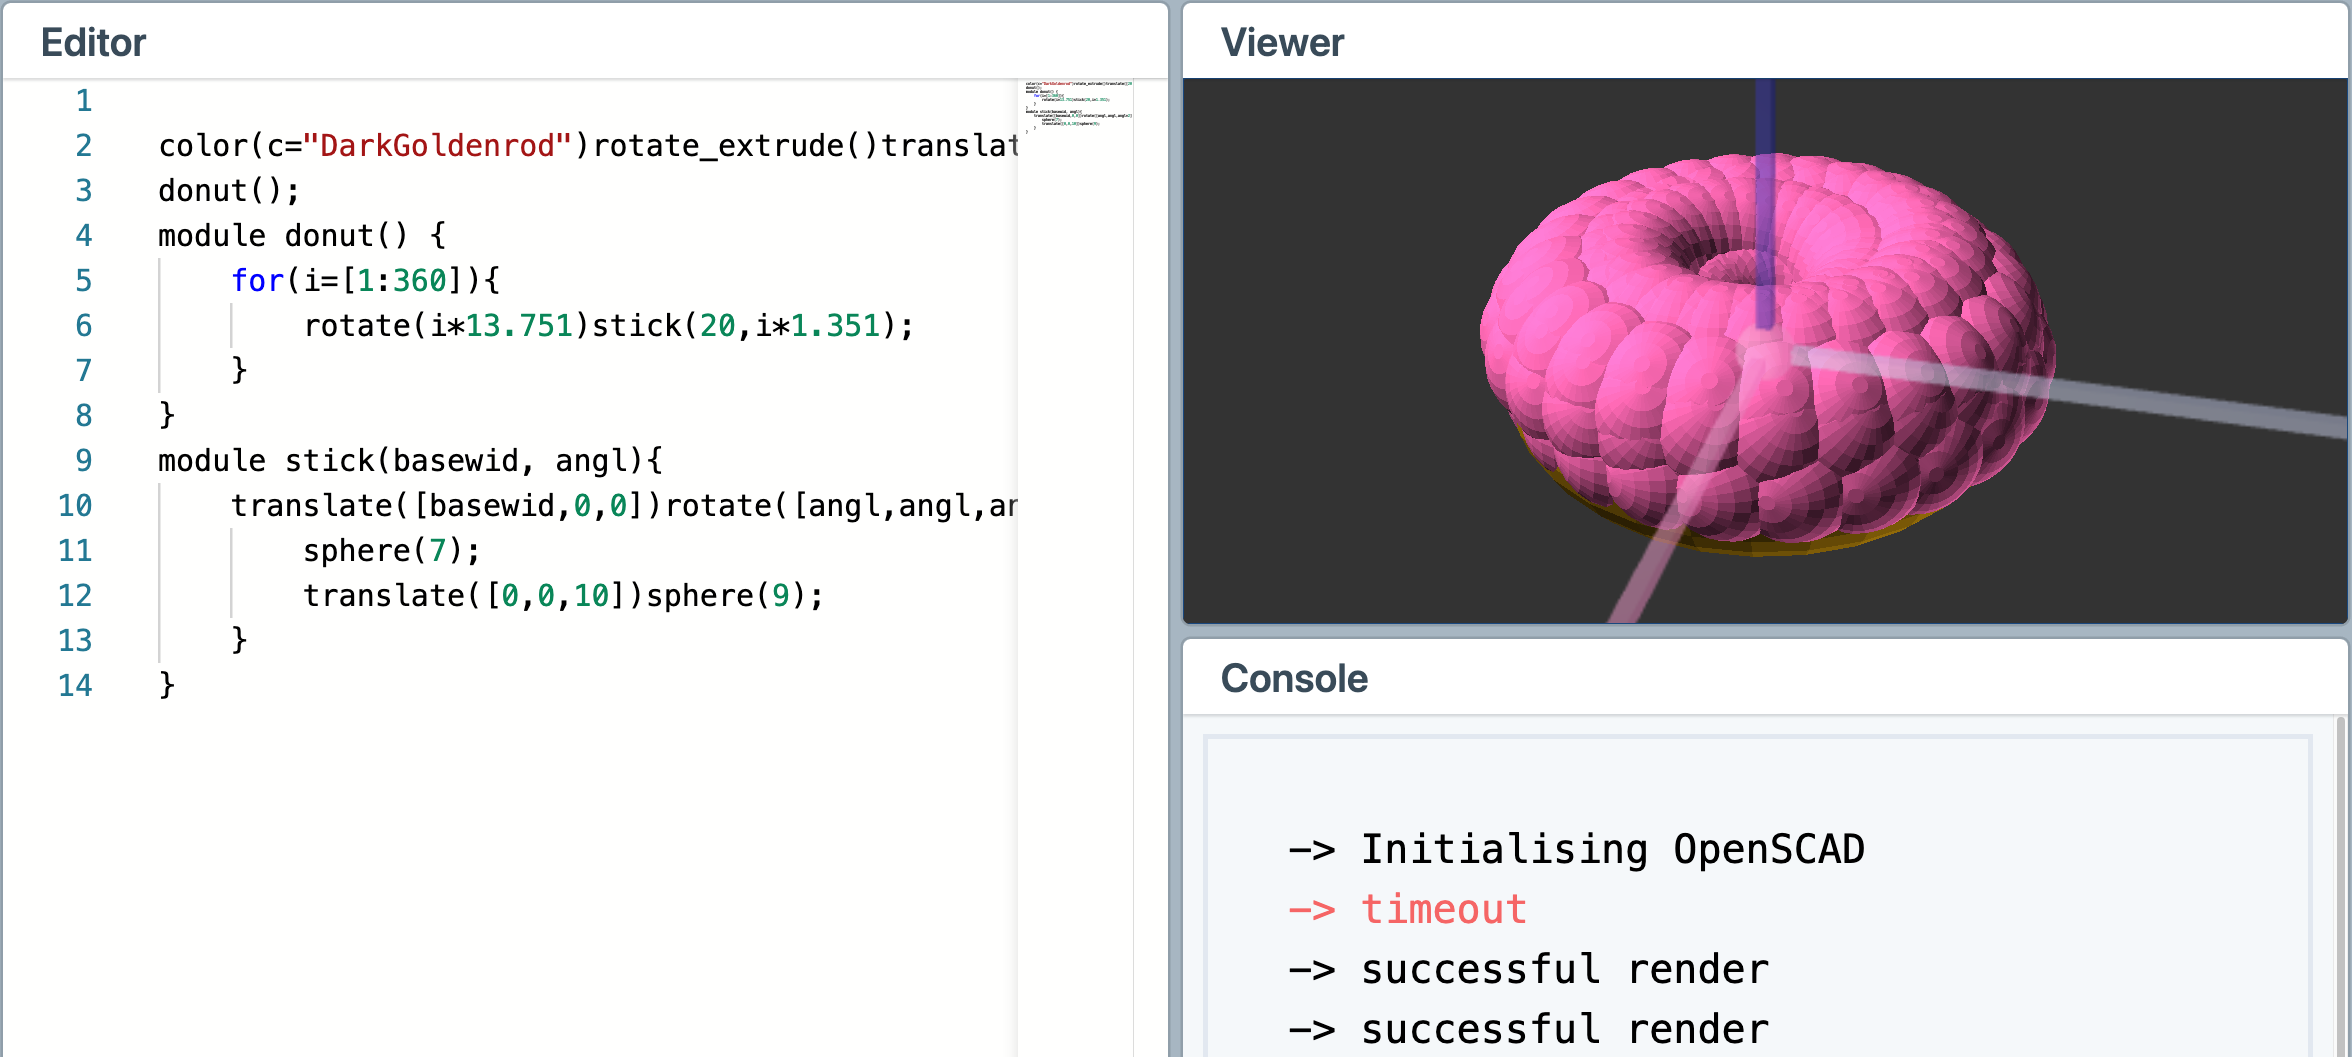
Here we should see the default code in the editor on the left-hand-side, the editor is where we design our CAD parts and we'll cover that more soon. You will also see the generated shape on the right-hand-side (along with the console which gives us extra information). You can click and drag inside the viewer to change the perspective, though the image will only update once you let go of the mouse.
You can also move the object with with right-click and drag, and scrolling will zoom in and out.
What about the editor?#
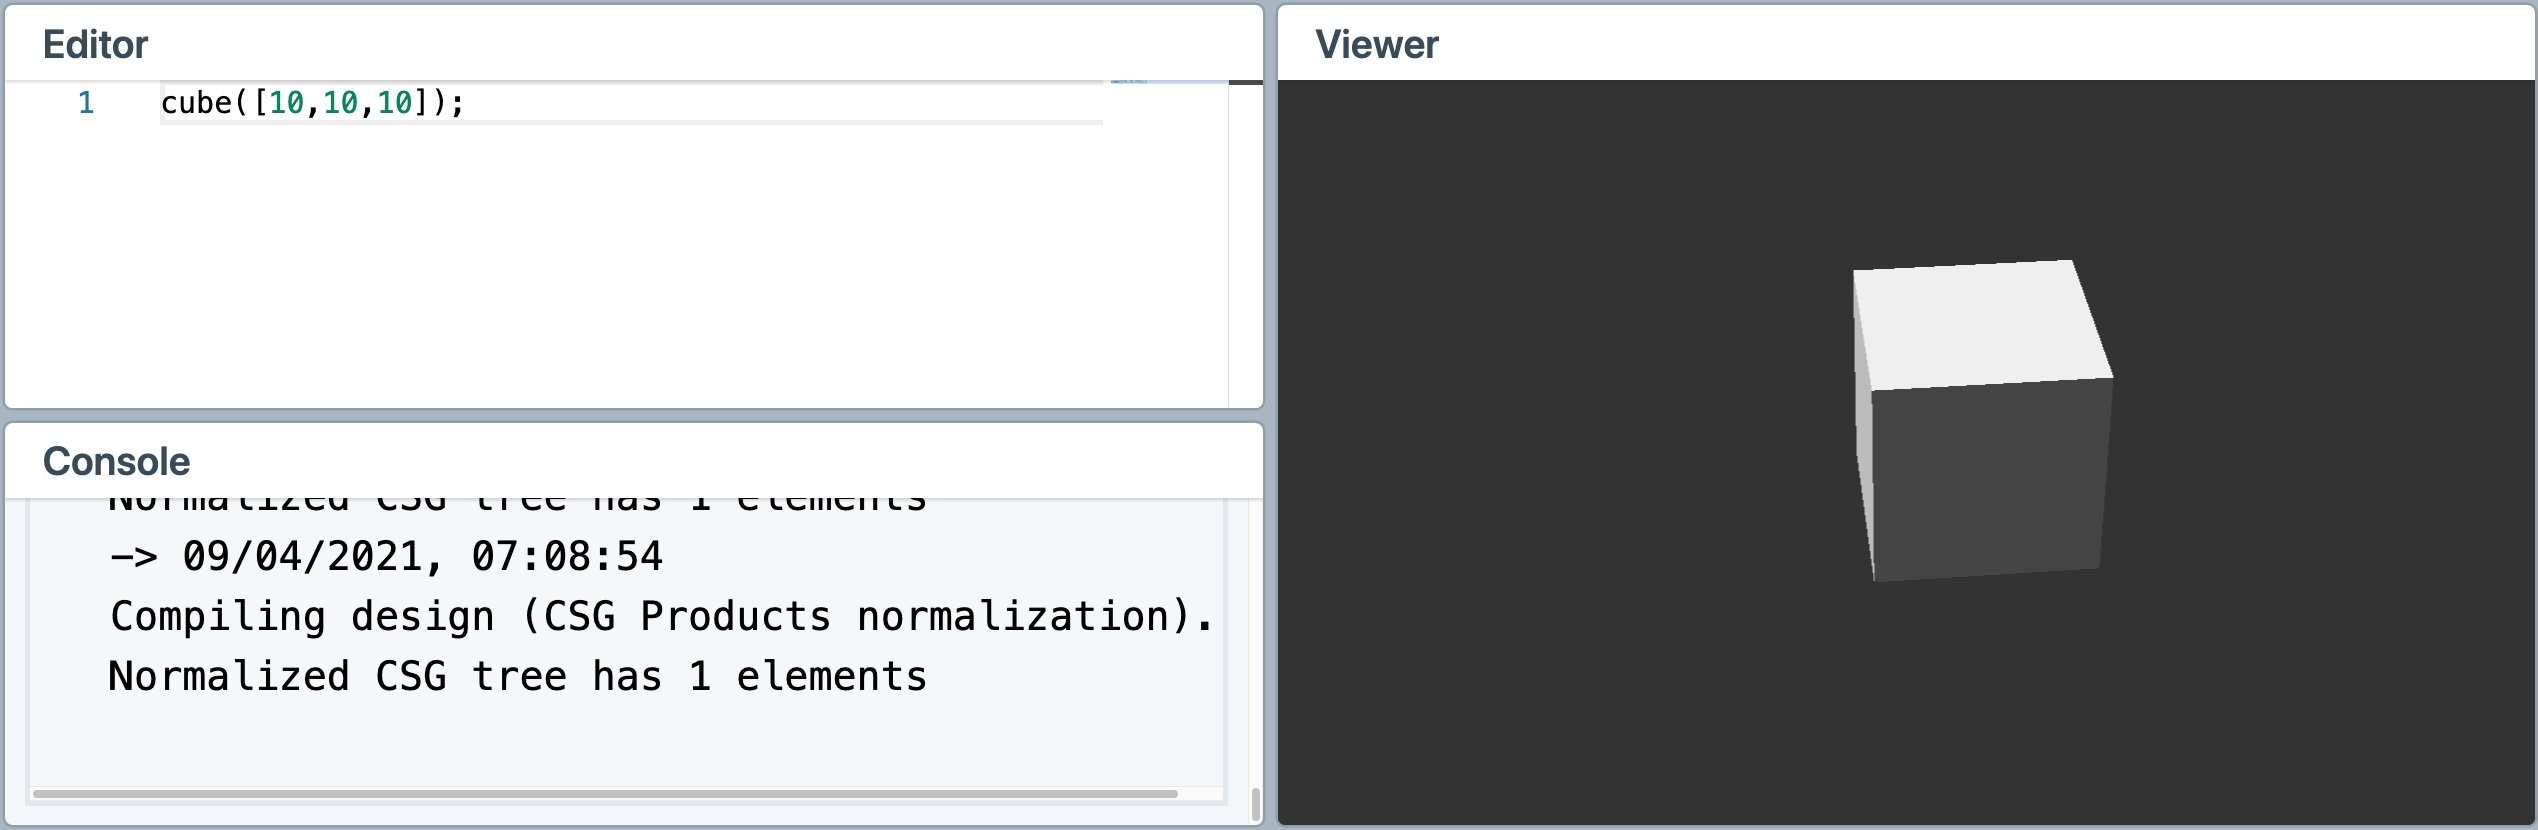
For that we'll need to learn about the OpenSCAD language. For now, try replacing all of the existing code with cube([10,10,10]); and then hit ctrl + s to tell CadHub to render a new image. You should see a cube appear!
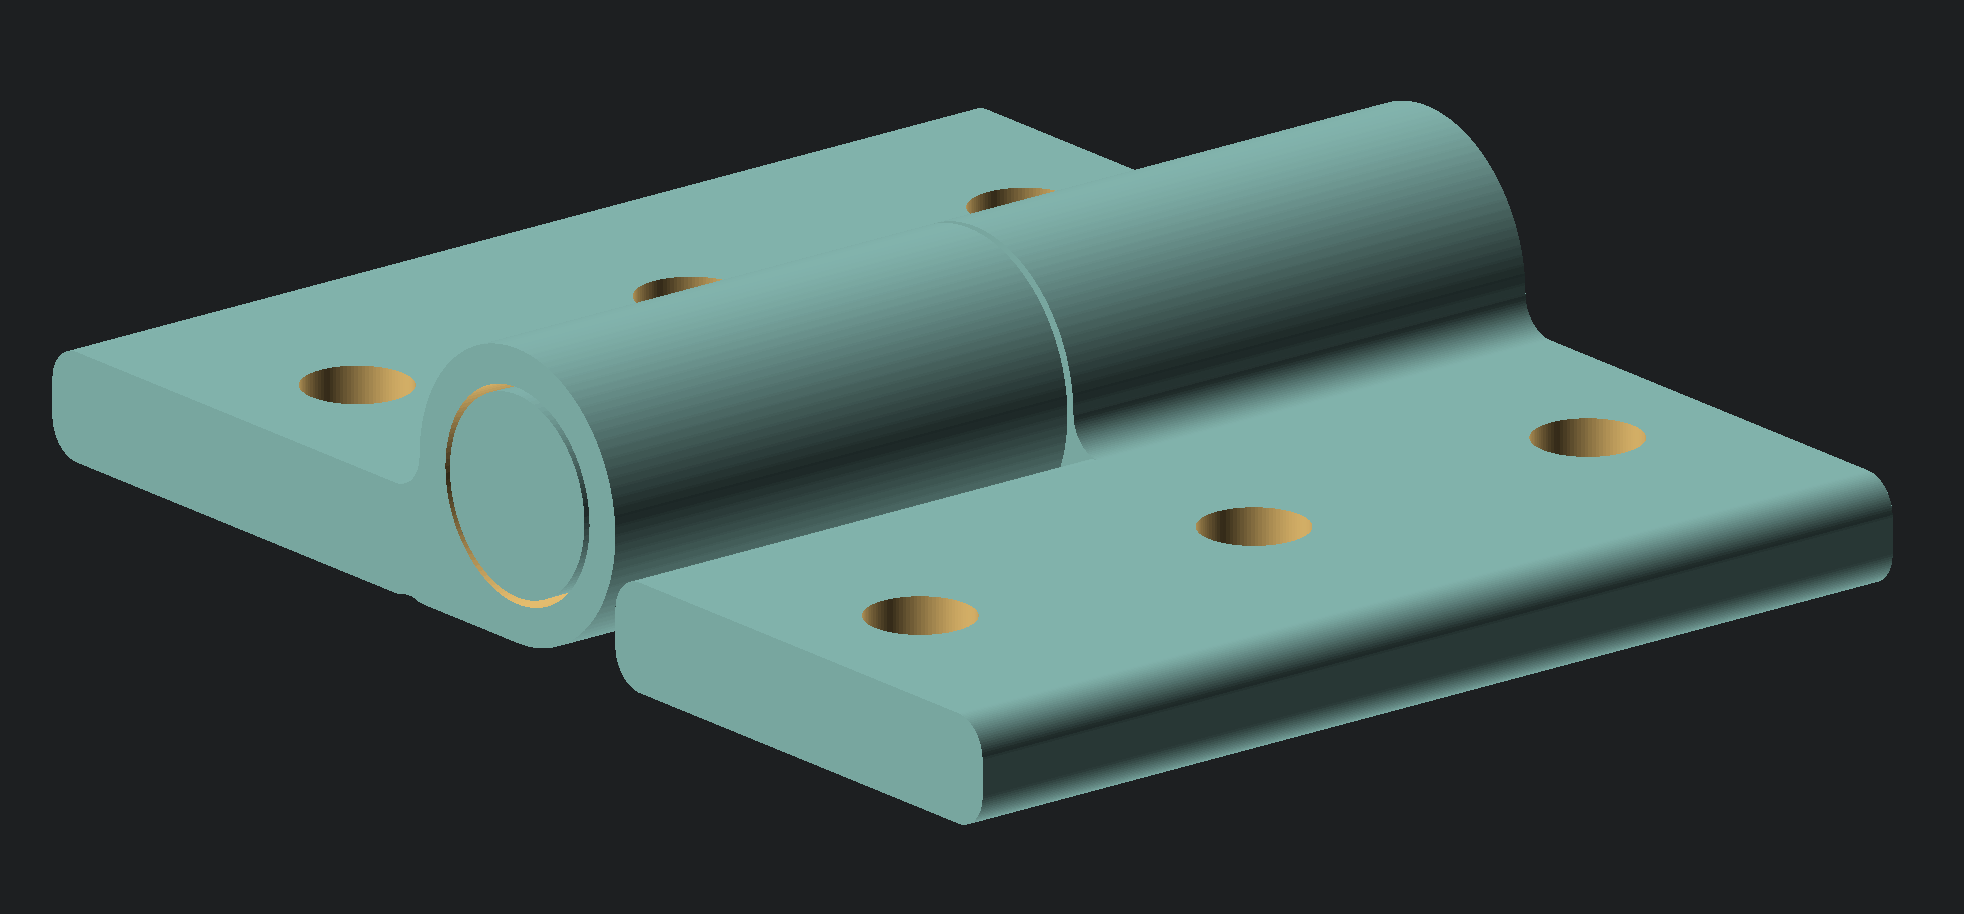
Don't worry if you don't understand the specifics of what happened here, we'll give you the whole run down next in our introductory tutorial, where you'll learn the basics of OpenSCAD by making a hinge.